
Hone your tone.
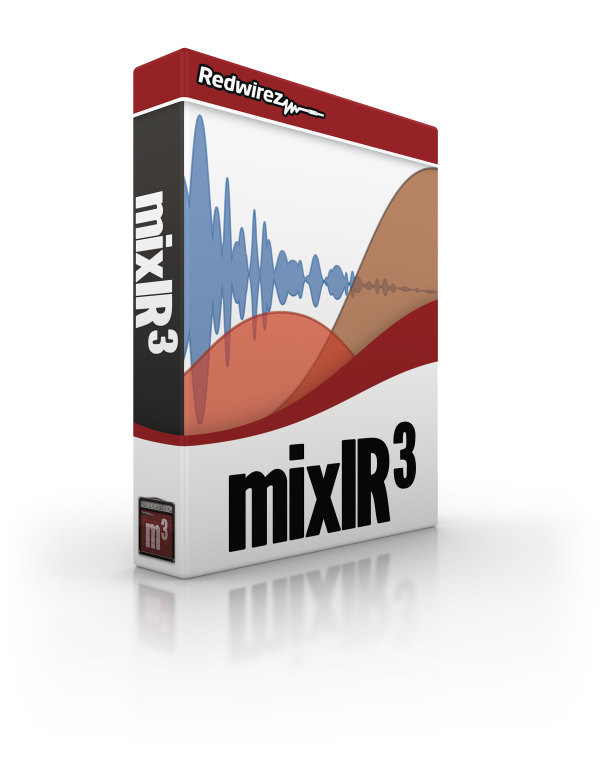
mixIR³
Performance and production power tools built around the sound of classic mics, cabinets, reverb and EQ. The essence of the world’s most well-loved gear in the box.
mixIR³
IR Loader and IR Mixer in One
Mix fat stacks of IRs: speaker cabs, reverb, EQ and more with a graphical mixIR³ modules. Run the mixIR³ in your digital audio workstation as a plug-in. Or, on your Mac or PC as a standalone app. Export your mix to a single file then send it to your hardware amp or cabinet sim.
Get mixIR³
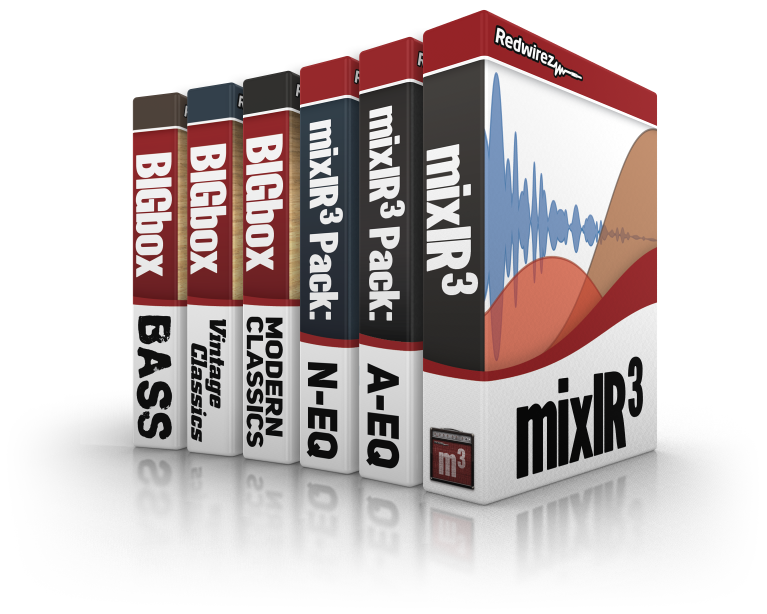
All Redwirez IRs in one BIGbox!
Get them all and save some money. Buy the bundle!
BIGbox X: 10th Anniversary Collection
The classic gets a new look.
Mix-ready 10th Anniversary IRs are longer, cleaner and smoother. And now with new graphical mixIR³ modules sculpting your tone is easier than ever.
BIGbox X CollectionPassing the mic.
Our founder would like to congratulate Lincoln Brewster as he takes over for Mike and leads Redwirez into the future.
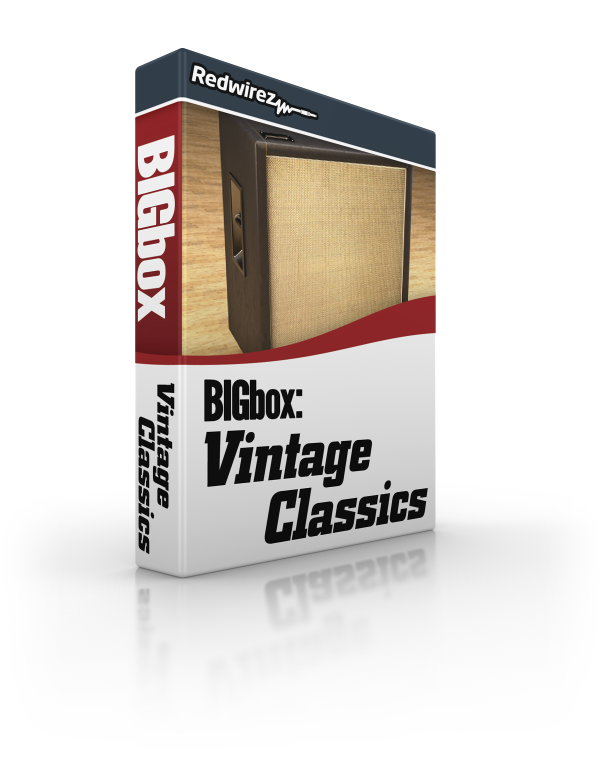
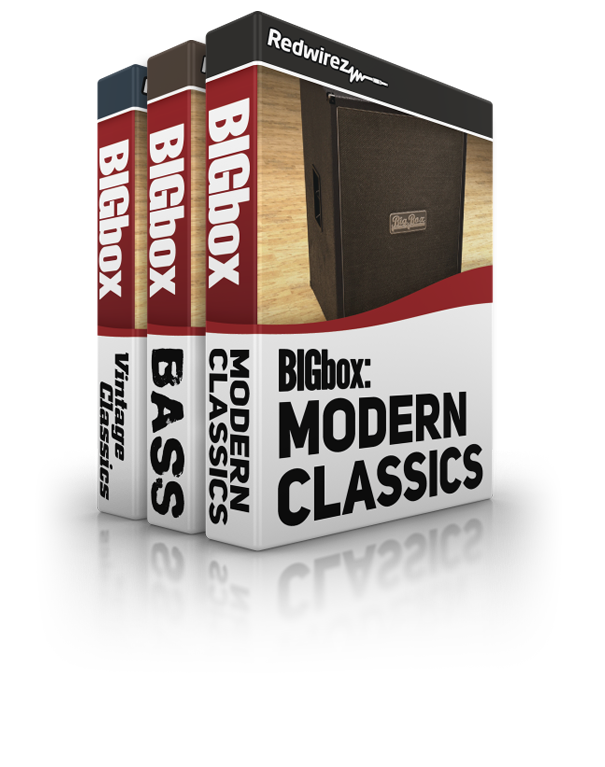
BIGbox✘: Vintage Classics
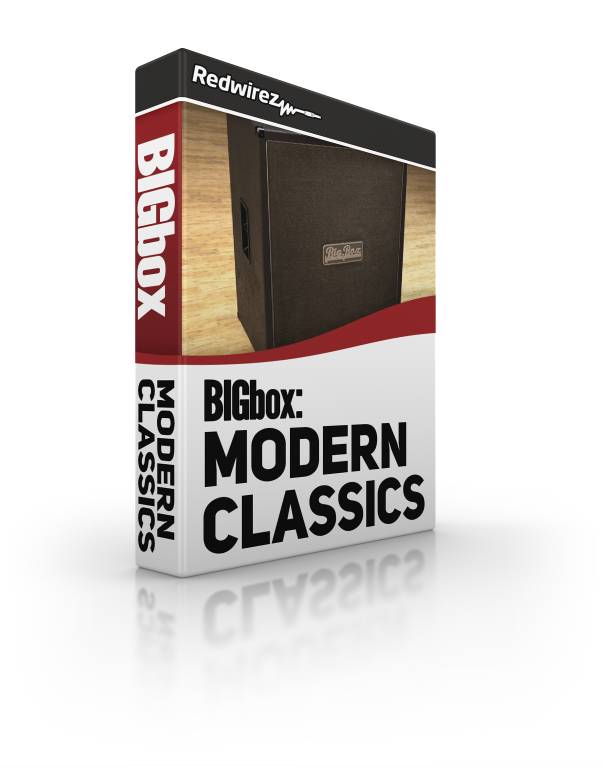
BIGbox✘: Modern Classics
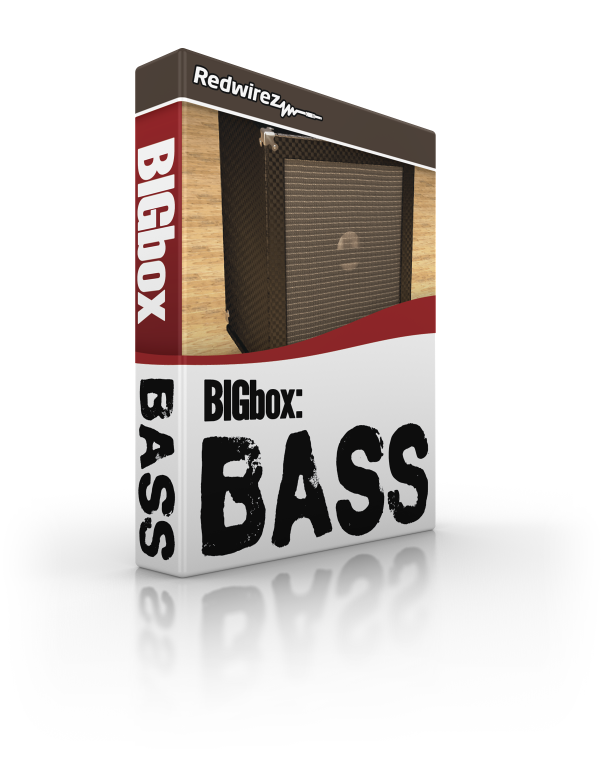
BIGbox✘: Bass
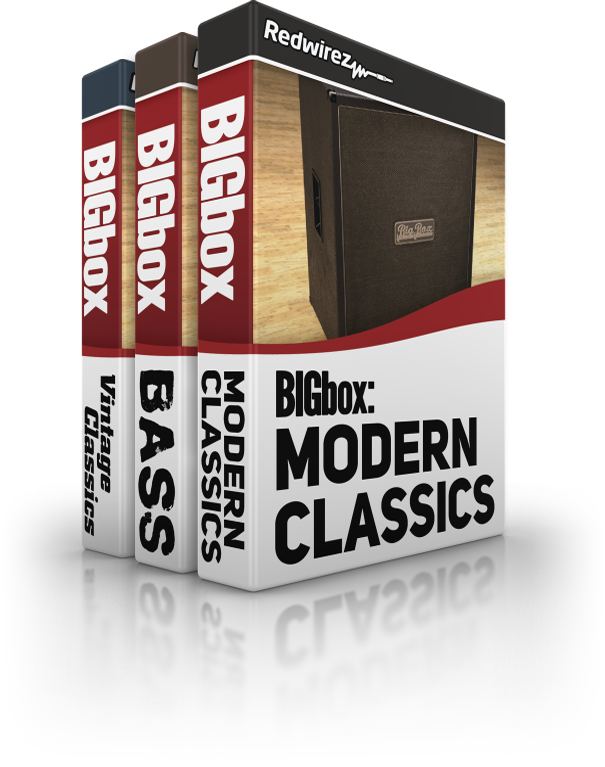
BIGbox✘ Bundle
mixIR³ IR Loader

N-SERIES Equalizer for mixIR³
